Improving your privacy online, part 2 - the VPN
12 Apr 2020An additional way to bolster your privacy online, on top of the things described in part 1, is to use a VPN (Virtual Private Network).
In simple terms, a VPN will open an encrypted connection from your computer or mobile device to a server on the Internet. While this won’t make you completely anonymous it will:
- Hide your Internet activity from your ISP.
- Hide what you are doing if you are using a public WiFi hotspot from the people who run the hotspot.
- Allow you to circumvent geographic restrictions on websites or streaming services.
- Bypass restrictions on the network you connect from.
How to get started using a VPN
To use a VPN you will need 2 things:
- A VPN client on your computer or mobile device.
- A VPN service to connect to.
There are plenty of free VPN clients for most platforms. For a VPN service there a plenty of commercial services, both free and paid for, you also have the possibility to launch your own private VPN service on a public cloud.
If you care about your privacy you should NOT use a commercial VPN service, especially not a free one. If you use a free service they have to earn money somehow, most likely by analyzing and selling your data or worse - If you are not paying for the product, you are the product.
However, even if you are paying for it there is no guarantee. Many commercial VPN Services who claim not to log your activity or sell your data have been found out doing just that.
The only way to really be sure that your activites are safe is to set up your own VPN server.
Setting up your own VPN server may be a bit of a hurdle. Fortunately there are a couple of projects that helps us with this. One that I am currently trying out is the Algo VPN project which describes its mission statement in this blog post.
Algo VPN
About
Algo VPN is a set of scripts that will set up a Wireguard and IPsec VPN Server for you on a public cloud or your own machine.
It currently supports the following clouds:
- DigitalOcean
- Amazon
- Microsoft Azure
- Google Compute Engine
- Hetzner Cloud
- Vultr
- Scaleway
And the following platforms:
- OpenStack
- CloudStack
- Your own Ubuntu 18.04 or 19.10 server
How to set up a Wireguard and IPsec VPN Server with Algo VPN
You need to be familiar with the command line interface and the Git version control system to use Algo VPN.

Step 1
Register for a cloud provider. I used DigitalOcean, if you sign up with this link you will get a $100 credit.
Step 2
Set up the dependencies for Algo VPN as described on the Algo VPN Github page.
Step 3
Clone the Github repository:
git clone https://github.com/trailofbits/algo.git
Step 4
Open the config.cfg file in your favourite text editor and add your VPN users in the users list, for example:
users:
  - jonas-android-phone
  - jonas-windows-laptop
  - jonas-linux-laptop
  - moms-iphone
  - dads-iphone
Step 5
Run the algo script:
./algo
The script will walk you through the setup by first asking you to select which cloud provider or platform you wish to use and which features you need and second run the setup. The script will run for a couple of minutes.
You are now the proud owner of your very own VPN Server.
Start using the VPN
After the setup script is done there will be a subdirectory in the configs directory with configuration files for Wireguard and IPsec. The subdirectory will be named with the IP address of your Algo VPN Server.
Which platform you are on will determine how to set up the VPN client on your device.
For Windows download the Wireguard client and import the . conf file from the wireguard subdirectory.
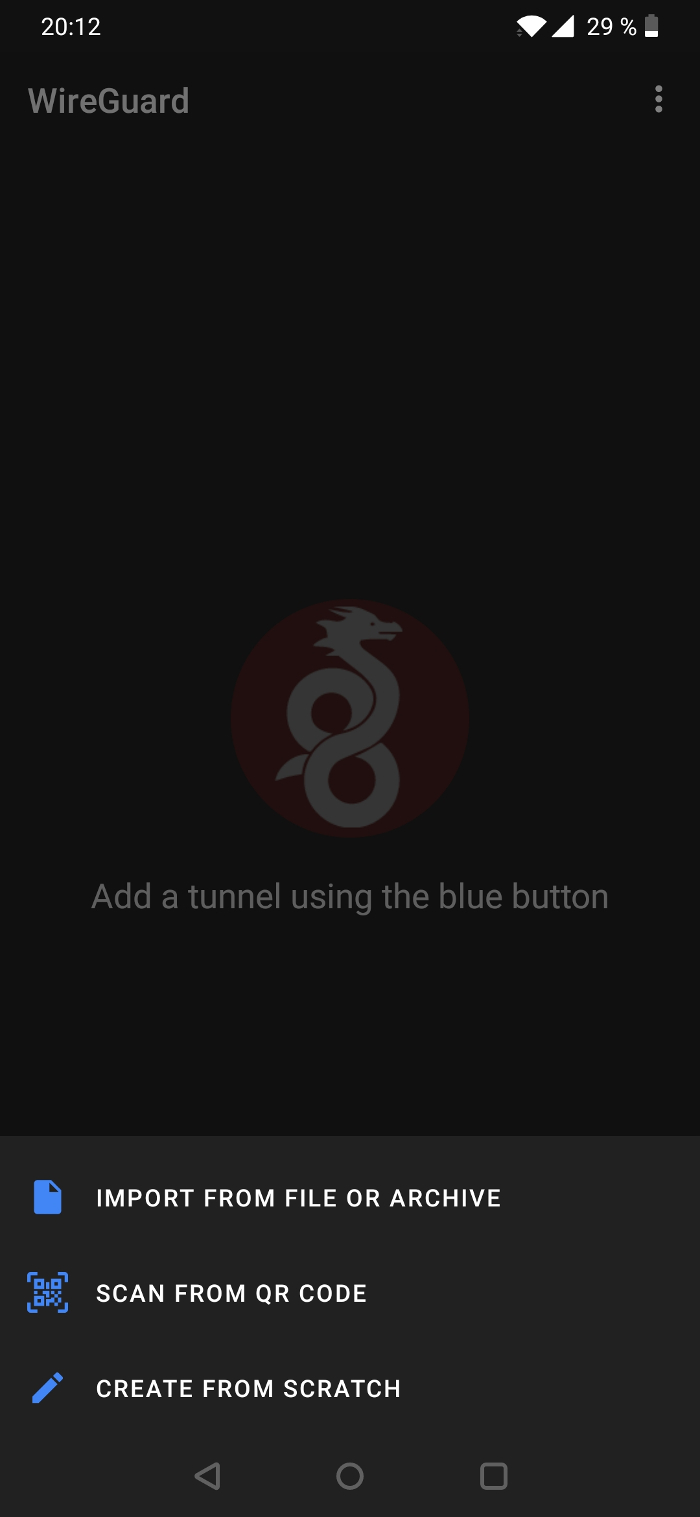
For mobile devices there will be images with QR codes in the wireguard subdirectory that you can scan with the Wireguard app (Android, iPhone/iPad) for an easy setup.
For Linux it may depend on your distro. DuckDuckGo will be your friend in finding instructions.
